


Hey there! As a supplier of Mattress Vacuum Cleaners, I've seen firsthand how important it is to keep these machines in tip - top shape. One crucial maintenance task is replacing the filters of your mattress vacuum cleaner. In this blog, I'll walk you through the whole process, so you can keep your cleaner working like a charm.
Why Replace the Filters?
Before we jump into how to replace the filters, let's talk about why it's so important. Filters in a mattress vacuum cleaner play a vital role in trapping dust, dirt, allergens, and even dust mites. Over time, these filters get clogged up. When that happens, the suction power of your vacuum cleaner starts to drop. You'll notice that it's not picking up dirt as effectively as it used to.
Moreover, a clogged filter can cause your vacuum cleaner to work harder, which might lead to overheating and potentially damage the motor. And if you're using a Uv Light Vacuum Cleaner for Bed, a dirty filter can also reduce the effectiveness of the UV light in killing germs and dust mites. So, regular filter replacement is a must to ensure your vacuum cleaner lasts longer and works at its best.
Types of Filters in Mattress Vacuum Cleaners
Most mattress vacuum cleaners come with at least two types of filters: a pre - filter and a main filter.
The pre - filter is usually the first line of defense. It catches the larger particles like hair, lint, and big chunks of dirt. This helps to prevent these large items from reaching and clogging the main filter. The pre - filter is often washable, which is a great feature as it can be reused multiple times.
The main filter, on the other hand, is designed to trap the smaller particles such as dust, pollen, and dust mite feces. Some main filters are HEPA (High - Efficiency Particulate Air) filters, which are extremely effective at capturing tiny particles. These filters are not washable and need to be replaced regularly.
Step - by - Step Guide to Replacing Filters
Step 1: Gather Your Tools
You don't need a whole bunch of fancy tools to replace the filters. All you'll typically need is a small screwdriver (if your vacuum cleaner has screws holding the filter compartment), a clean cloth, and the replacement filters. Make sure you have the right filters for your specific model of mattress vacuum cleaner. You can usually find this information in the user manual or on the manufacturer's website.

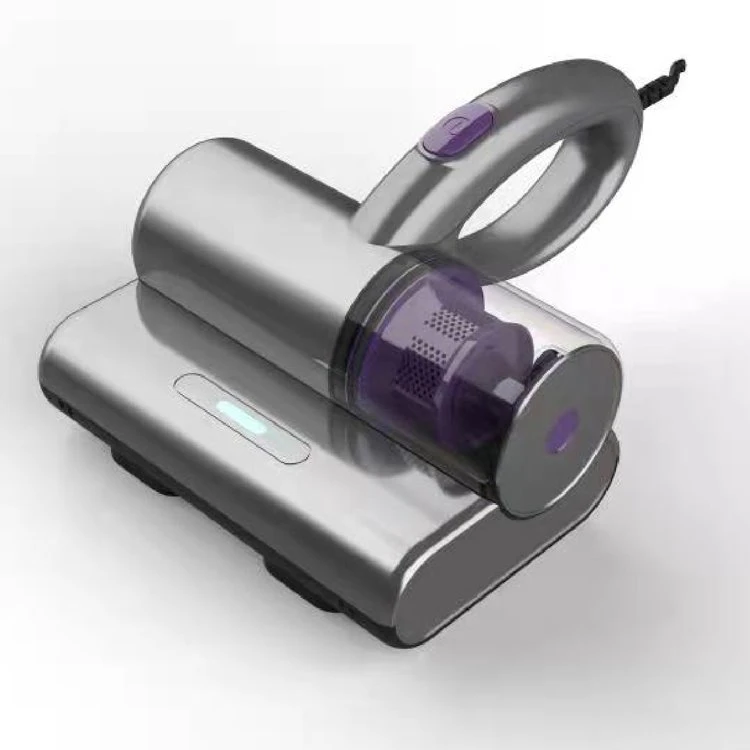
Step 2: Turn Off and Unplug the Vacuum Cleaner
Safety first! Before you start working on the vacuum cleaner, make sure it's turned off and unplugged from the power source. This will prevent any accidental shocks or injuries while you're handling the filters.
Step 3: Locate the Filter Compartments
The location of the filter compartments can vary depending on the model of your mattress vacuum cleaner. In most cases, the pre - filter is located near the intake or suction area. You might have to open a small door or remove a cover to access it. The main filter is usually located further inside the vacuum cleaner, often near the motor. Some vacuum cleaners have a clearly marked filter compartment with an easy - to - open latch, while others might require you to use a screwdriver to remove a panel.
Step 4: Remove the Pre - Filter
If your pre - filter is washable, gently remove it from the vacuum cleaner. You can tap it gently over a trash can to get rid of the larger debris. Then, rinse it under running water until the water runs clear. Let it dry completely before putting it back in the vacuum cleaner. If the pre - filter is not washable, simply dispose of it and replace it with a new one.
Step 5: Remove the Main Filter
If your main filter is held in place by screws, use your screwdriver to remove them carefully. If it's held by a latch, just open the latch. Once the filter is accessible, gently pull it out. Be careful not to crush or damage the filter as you remove it. If you're using a Mattress Allergy Vacuum Cleaner, the main filter is especially important for trapping allergens, so make sure to handle it properly.
Step 6: Install the New Filters
Take your new pre - filter and main filter. Make sure they are the correct size and type for your vacuum cleaner. Insert the pre - filter back into its compartment, making sure it fits snugly. Then, do the same for the main filter. If you had to remove screws to access the main filter, carefully put the screws back in and tighten them. If it's a latch - type compartment, close the latch securely.
Step 7: Clean the Filter Compartments
While you have the filters out, use a clean cloth to wipe down the filter compartments. This will remove any remaining dust or debris that could potentially clog the new filters.
Step 8: Reassemble and Test
Once you've installed the new filters and cleaned the compartments, put any panels or covers back on the vacuum cleaner. Plug it back in and turn it on. Listen for any unusual noises and check that the suction power seems normal. If everything sounds and works okay, you're all set!
How Often Should You Replace the Filters?
The frequency of filter replacement depends on a few factors. If you use your mattress vacuum cleaner frequently, say once a week or more, you'll need to replace the filters more often. The pre - filter, if it's washable, can usually be washed every 1 - 2 months. The main filter, especially if it's a HEPA filter, should be replaced every 6 - 12 months. However, if you have pets or suffer from allergies, you might want to replace the filters more frequently. For example, if you're using a Uv Dust Mite Vacuum Cleaner to deal with dust mites, more regular filter replacement can ensure the vacuum cleaner works at its best to keep your mattress clean and allergen - free.
Tips for Maintaining Your Filters
- Keep an eye on the filters: Check the filters regularly for signs of clogging. If you notice that the suction power is decreasing or the vacuum cleaner is making more noise than usual, it might be time to check or replace the filters.
- Store replacement filters properly: Keep your replacement filters in a clean, dry place. This will prevent them from getting dirty or damaged before you use them.
- Follow the manufacturer's instructions: Always refer to the user manual for your specific mattress vacuum cleaner. The manufacturer will have the most accurate information on how to replace and maintain the filters.
Contact Us for Your Filter and Vacuum Cleaner Needs
If you're in the market for a new mattress vacuum cleaner or need replacement filters, we're here to help. As a leading supplier of mattress vacuum cleaners, we offer a wide range of high - quality products to meet your cleaning needs. Whether you're looking for a Uv Light Vacuum Cleaner for Bed, a Mattress Allergy Vacuum Cleaner, or a Uv Dust Mite Vacuum Cleaner, we've got you covered. Contact us to start a purchase negotiation and let us help you keep your mattress clean and healthy.
References
- Various user manuals of popular mattress vacuum cleaners
- Industry research on vacuum cleaner maintenance and filter replacement


